This is my first tutorial as well, so bear with me...
First, I took measurements of my name tag. It is a pretty standard size. I got out the following items to get started:
1/2 yard of linen
3 different fat quarters
Woven interfacing (like Pellon 101)
8" zipper
Vinyl (keep the paper that comes with it!)
Also needed:
Sewing machine 80 sewing machine top stitch needle
Rotary cutter Zipper foot
Scissors Top stitch or edge stitch foot
Thread Walking foot
Seam ripper ; ) Jeans needle - 100 top stitch needle
Cut 2 - 6" x 10" pieces of linen (R Kaufmann Essex) for the front and back lining.
Cut 2 - 6" x 10" pieces of woven interfacing and iron on to the wrong side of the front and back pieces of linen.
Set aside the back piece for now.

Cut 1 - 4.5" x 6" piece of vinyl (use the paper to see how to cut it)

Cut a 2.5" x 6.5" strip of fabric. (I used Glimma canvas.) Fold it in half lengthwise with wrong sides together and iron. Open it up and fold the raw edges into the middle of the wrong side of fabric.


Use a chalk marker or erasable pen to mark 3/4 " down from the top. This is where to place the bound vinyl top.


Baste the vinyl window on using a basting stitch of 5-6 mm about 1/8" away from the edge. Use paper to keep sewing machine foot from dragging on vinyl. Set this piece aside for now.
Cut the 8" zipper to 6".
Cut 2 - 2.5" x 1.5" pieces of fabric from one of the fat quarters. (I used Glimma fabric.) Fold the fabric in half, iron, fold the raw edges into the middle, iron and put on zipper ends. Top stitch these ends on. (This part makes the zipper look finished! Don't forget to put your stitch length back to 3 mm!)


Cut 1 - 10" x 6" piece of fabric for the zippered pocket. (I used Glimma canvas.)
Cut 1 - 10" x 6" piece of the woven interfacing and iron to the wrong side of the fabric.
Fold the interfaced fabric in half with the right sides out and iron. Place the zipper face down on the top fold of the now 5" x 6" piece of fabric as in photo. Line up the fold of the fabric with the top edge of the zipper.

With zipper foot, stitch about 1/4" away from the edge of the zipper. Turn the zipper over, finger press it down, and top stitch the fabric down.

(My top stitching isn't looking all that great! Not picking it out...)
Cut 1 - piece of 10" x 6" fabric. (I used Glimma fabric.) Fold it in half and iron. (Since this is the inside lining of the zippered pocket, I didn't use the woven interfacing.)
Place the fold on the zipper top edge, (zipper right side up) and use zipper foot to stitch 1/4" from the zipper.

After stitching in place, fold over the pocket lining and top stitch in place. Your pocket will look like this:

Fold the pieces with the insides together and line up the side and bottom edges. Place on the front piece of fabric that the vinyl window is stitched onto. Square the zippered pocket up if necessary.

(A plug for Bernina there with the name tag, eh? Also, you caught me, at this point I hadn't basted the vinyl on. I wanted to make sure of the measurements because this was the prototype.)
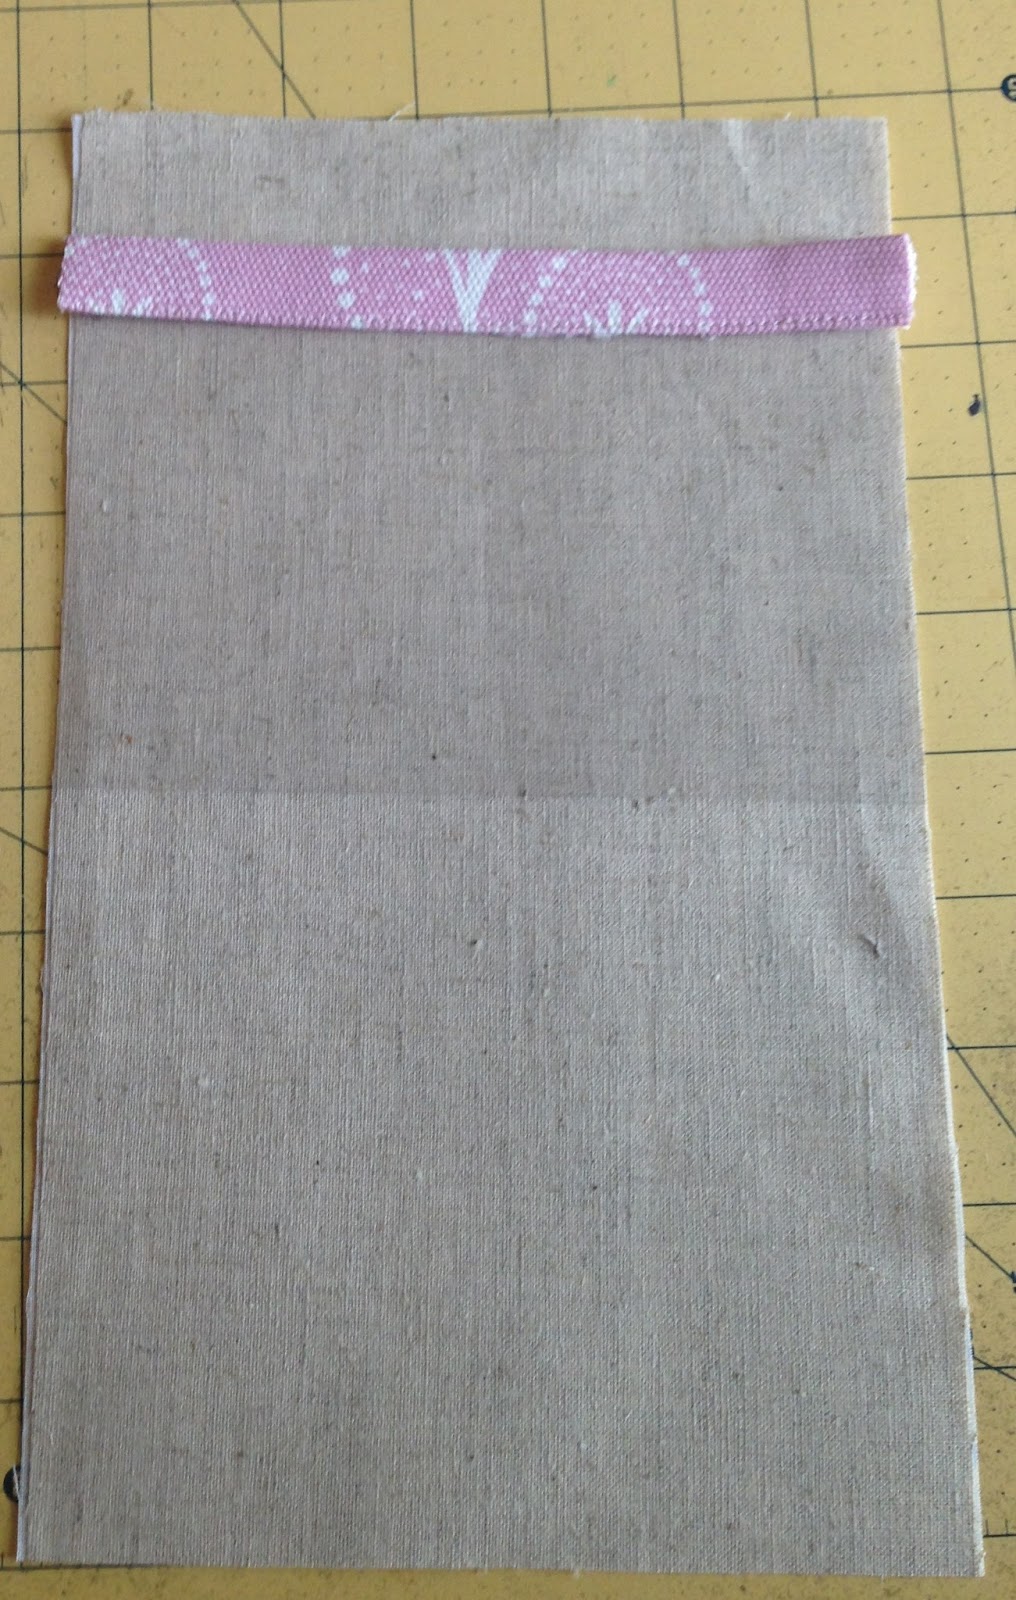
Cut 1 - 1" x 6" piece of fabric. (I used Glimma fabric.) Fold the raw edges over about 1/4" to the wrong side of the fabric and press. The pressed strip needs to be about 1/2". Measure up 4 7/8" from the bottom edge, mark a line. Place the bottom edge of the 1/2" strip on the marked line and top stitch in place.

Place the zippered pocket in place with the raw edges of the sides and bottom lining up with the raw edges of the sides and bottom of the front piece. Move the zipper tab to the middle of the zipper.
Baste the zippered pocket piece in place. Use a 5-6 mm stitch about 1/8" from the edge. These is a pocket behind the zippered pocket! Place this front piece aside for now.

Cut 1 - 14" x 6" piece of fabric. (I used Glimma fabric.) Fold the fabric in half so it measures 7" x 6". Top stitch along the top folded edge. Place this fabric on the back piece with the bottom and side raw edges lined up. Baste in place with a basting stitch.

Take the bottom piece and put it wrong side together with the top piece. Use wonder clips to hold the pieces together. Use a walking foot and a jeans needle (100). Go slow over the zipper edges. With paper over the vinyl, baste all the pieces together about 1/8" from the edge.


Fold the binding in half, wrong sides together. Stitch onto the name tag holder with pockets with a walking foot and 1/4" seam from the edge.


For the neck strap, cut 1 - 30" x 2.5" strip. Fold the edges up 1/4" and top stitch as shown in the photo.

Fold the strip in half and iron. Take the raw edges and fold to the middle. Fold the strip in half again and iron. Top stitch along both edges.

Hand sew the binding and the neck strap to the back. It's done!
(Please let me know if there are any corrections that need to be made. After all this is first tutorial!)
No comments:
Post a Comment